Showing posts with label photos. Show all posts

Thursday, January 19, 2017

Christmas Card Scrapbook Page

Sometimes the simplest layout can be the one you like the most. 

Several years ago when I started making photo cards for Christmas, I started scrapbooking them as well. I usually use this single page as the back cover page for that years album. They are usually really simple layouts - just the card and some accent paper, maybe a couple of stickers. This years Christmas Card page was no different.


Christmas Card Scrapbook page Layout Winter DCWV

I found this beautiful piece of paper that was left over from the paper stack I used for Christmas photos two years ago. It's from a DCWV stack called Winter in the Woods. I didn't use it before because all of my Christmas layouts had more than one photo on them. But I thought this paper was so pretty, so when I started looking for paper to use for the card page, it jumped right out at me as completely perfect for this layout.


Christmas Card Scrapbook page Layout Winter DCWV

Once I had the card and the sheet of paper, it just needed a few accents. I highlighted the photo by matting it on grey and brown to compliment the colors in the wreath pattern, and added in a few green accents as well. I also added double layer triangle shapes on each of the corners to mimic old-fashioned photo corners. Even with those additions, it needed something else. Maybe a little bit of bling.


I don't usually use a lot of sparkly or blingy material, but I happened to have some clear crystal snowflakes and added one to each corner and one to the center tag. It was just enough to give it some sparkle and detail.

Here is the final Christmas card layout:


Do you scrapbook your Christmas Cards?

Thanks for looking!

Monday, February 1, 2016

So Many Photos, So Few Pages

Yelowstone trip, minus about 1/4 that I've already scrapbooked
It's no secret, I take a lot of photos. Like sometimes an exorbitant amount. Many are just slightly different angles of the same thing, or multiples of my kids in the same position (hoping that one of the 5 will turn out great.)I narrow them down a lot during editing, before choosing which ones to print and scrapbook. But it can be hard trying to decide which photos make the cut and which do not. And once I have decided printed them, I still usually end up with several dozen from each trip that didn't make the second cut into the book. If you take a lot of photos too, you know how hard it can be to make them all fit in the scrapbook! 

I really, truly like to put as many photos as possible on a page. I just like pages with a lot of photos on them, its just my style. M
ost of my pages usually end up with 4 to 5 to even 6 photos on them! Rarely do I have a page under 4 photos.

So when it comes time to put photos to paper - how do you choose? 
Sometimes all the photos just won't fit on the page and you are forced to eliminate some. 

First, try not to have too many duplicates. I try to choose the very best ONE of a particular shot/scene/area/person and use that one.


Second, cut them down. While I tend not to cut a lot of photos down, I do cut a lot of 4x6 photos down to 4x4. I almost always scrapbook with only 4x6 and 4x4 photos. By using 4x4s you can fit more photos onto the page and arrange 3 photos vertically or horizontally on the page.


Third, pick your favorites. Many times I've removed a photo from a layout that I really, really wanted to use - but only because I loved the other ones on the page even more. If there is no way to cut it down, or cut others down to make it fit, then you just have to pull it, or add another layout to incorporate those pictures that didn't fit. Since I tend to do almost all 2-page layouts, having a couple straggler pictures can force me to create another 2-page layout for them - which can be nice since you are then able to spread out the pictures over a multi-page layout.


My current project is our trip to Yellowstone, and here I have all of our photos from the Mammoth Hot Springs area. I have 62 pictures printed, and wanted no more than 8 layouts. I first layed out 16 sheets of 12x12 paper to make up the 8 layouts, then started putting the photos on the pages that I thought would go together.  


Once I had a general idea of what would fit together, and what made sense together (all of the town pictures together, all of the hot springs pictures together), I had 2 photos left over that I couldn't fit on any of the pages. I was pretty happy to only have 2 left, and since I had other photos that were similar or that I liked better, I was okay with leaving these 2 off. 


I cropped down several photos to 4x4 size, and began thinking about their final placement and layout.  After cutting them down, I was happy with the spacing and placement, and could start pulling out the patterned papers and create the final layouts!

Thursday, January 21, 2016

Scrapbooking Without Photos

Most people think that scrapbooking is all about the photos.  While this is mostly true, there are many ways to make great scrapbook pages with very few photos, or no photos at all!  I love to add other art and graphics to scrapbooks - it helps break up page after page of photos, and can be used to fill space if you don't have quite enough photos to do a 2-page layout but want to.

My favorite items to use for these types of pages are program or booklet covers, certificates, any art, brochures, maps and drawings.

In my son's school album I added one of his drawings from preschool.

In a vacation album, I added a drawing that my son made after we got home from the vacation.

My son's school participated in a reading program, these were a few of the things he brought home from school.

A sheet of patterned paper and a booklet cover is all you need!

You can also use an itinerary for a non-photo page.

Here is a certificate my son earned from school.

While this page does have a few small photos on it, the program cover could be used alone on a page.

So if you are short on photos or have items you want to use but no photos to go along with them - scrap them anyway!  Scrapbooks don't have to be just pictures - you can make an entire album of just your kid's art, or programs from shows or sporting events you've been to.  Pull out those old certificates from the box in the basement and put them in a book!

Tuesday, January 19, 2016

How to Use Personalized Mementos on Your Pages

There are so many things you can use for embellishments these days, and I tend to stick to a few. I use stickers, but I also use ribbon, brads, eyelets, tags, journaling cards, die cuts, and cutouts. But I also try to use things that are personal - mementos or things that came from the place we were or what we were doing. I tend to think of embellishments and mementos as almost the same thing - they both add decoration and interest to your layouts, and they not regular photographs. If I can use a personal memento in place of a store bought embellishment, I'd rather. There are lots of ways to add these personal mementos to your albums, and they add a lot of character and uniqueness to your layouts.

Here are my Top 10 Favorite Personal Mementos:


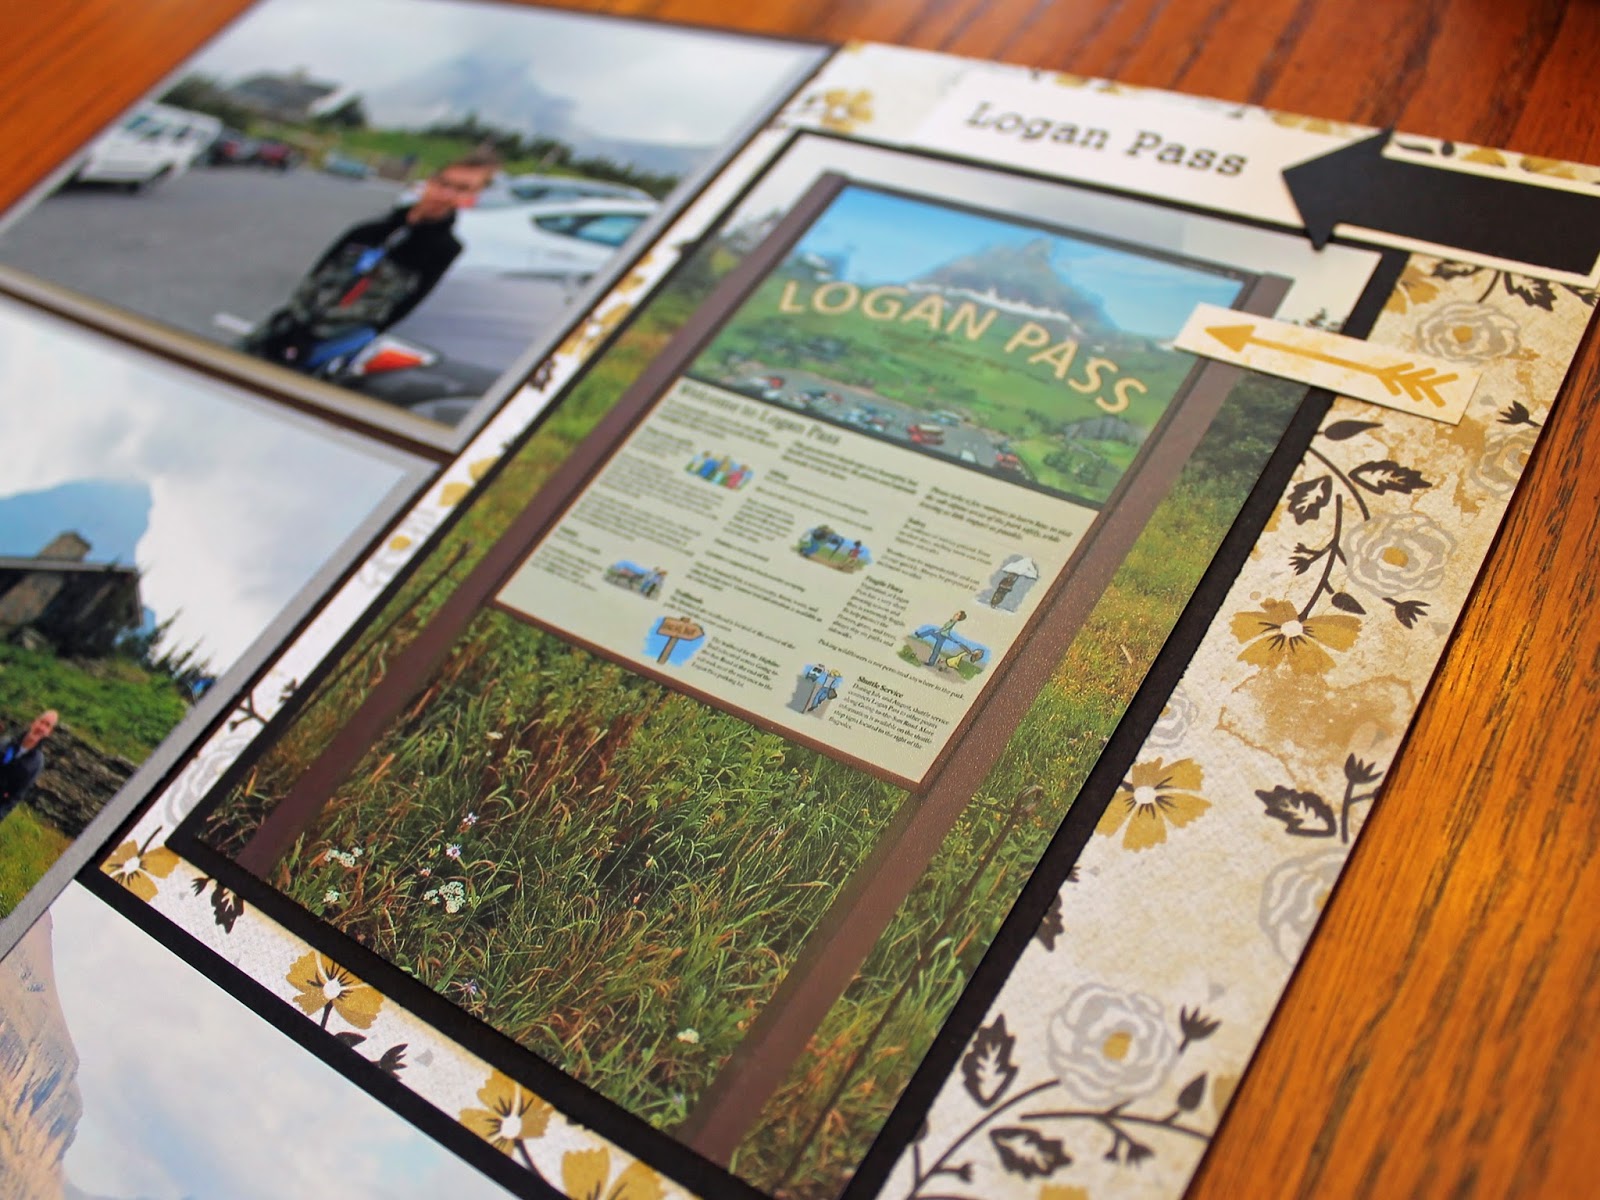
1. SIGNS. I love signs. Park signs, street signs, ride signs, highways signs, you name it. I started taking pictures of signs so that I would know when I edited my photos which pictures came from where. Then I started incorporating the photos of the signs in my layouts, and just loved the effect. Wherever you go there are signs - state park signs, national park signs, theme park signs, road signs on your road trip. Take photos of them and use them in place of another embellishment.


2. TICKETS. Ticket stubs are great, but sometimes you have to hand your ticket over and don't get to keep it. Take a picture of it! Once printed and trimmed - it looks just like the real ticket. I've done this with Disney FastPasses, game tickets, airline tickets, and many other tickets. Another easy, and personal memento.

3. STAMPS. Stamps can be a really cool embellishment. While I've never used actual passport stamps, I've taken photos of stamps for both Disney scrapbooks and national park scrapbooks. At Disney, my kids did the Epcot passport book and collected the signatures and stamps in each country, and at several different national parks they got the "Passport" stamps in the NPS Passport books. Once home, I took photos of all of the stamps, cropped them in Photoshop, and uploaded them into a Word document where I could re-size them and print them all on a sheet of paper. Cut them out and there is another embellishment that looks just like the real thing.

4. AUTOGRAPHS. Another Disney idea, but if you collect the character autographs while at Disney, take photos of them once you get home and you can use these in your scrapbook.  I wanted to keep the originals intact, so I just took photos and printed them, and once in your album they look just like the real autographs. If you collect autographs at sporting events or concerts, use those too!

5. PATCHES and BADGES. Perfect for national parks, trails, scouts, and many others, take photos of patches and use them in your books! Once you trim out the patch it looks just like the real thing. 


6. POSTCARDS. Pick up a couple of postcards while on your trip. If you forget to buy some, you can look for them online and and print out a few! I have found some really cool old vintage postcards this way that make great art for a scrapbook page.


7. BROCHURES/FLYERS. Brochures and flyers are great and given out almost everywhere. Grab two - one you can keep intact on your page and one you can cut apart if there is something on the inside you want to use. I've used brochures to cut out logos and small maps from places we've visited.


8. PROGRAMS.  If you're heading out to a show or your child school music program - be sure to grab the program! In fact, grab two. Just like with the brochures, you can keep one intact and if there is something you want to cut out (like your child's name, a list of songs, etc.) you can cut the other one up without feeling guilty.


9. MAPS. Maps are an easy one, again being handed out everywhere, and often in a brochure or flyer. But you can also take pictures of maps at parks or theme parks, or wherever you travel. They are great in a scrapbook to look back over the area you traveled and the path you took to get there.

10. ART/POSTERS. Again I've used this idea for Disney books and national parks, but it could be used anywhere. Posters, prints, and artwork make great additions to your scrapbooks. I've taken pictures of posters hanging on the walls of buildings and also printed off small thumbnail sized graphics to use in my books.