Showing posts with label Yellowstone. Show all posts

Tuesday, March 1, 2016

Happy Birthday Yellowstone National Park!

Yellowstone National Park Scrapbook Page Map DCWV Weekend Neutrals
One hundred and forty-four years ago today, Ulysses S. Grant established our first national park - Yellowstone National Park. 

We were lucky enough to enjoy 3 days in the park last summer, and I've uploaded the first of 2 Yellowstone Albums to the gallery today to show off some of it's beauty.

Happy Birthday Yellowstone!

3/2/16: Today I also uploaded the second Yellowstone Album to gallery!

Monday, February 29, 2016

Road Trip Series #5: Mount Rushmore National Park

After stopping at Devils Tower, we headed straight for Mount Rushmore - it would be the last stop on our road trip before heading home the next day. It was early evening when we arrived, and since it was a chilly and windy night, we didn't hike any of the trails. We did see the monument from the overlook, and spent quite a bit of time in the Visitor Center.
(click on the layout for a larger view)


The Visitor Center had some excellent exhibits and we spent a lot of time looking at them. My son worked on his Junior Ranger booklet, and we picked up his badge before we left. It was another quick stop for us but something we wanted to see since we were so close. This was the last stop on our road trip and the last of the road trip layouts.

For these layouts, I combined a few patriotic themes papers with red, white, and blue stripes. The map and brochure were picked up at the visitor center, and I added photos of the passport stamps and my son's badge as well. The map on the second layout is the inside of the brochure that is on the 3rd page (I picked up 2 brochures while there.) 

This is the end of the 2015 road trip! Where have you gone on a road trip? What was your favorite road trip stop?

Saturday, February 27, 2016

Road Trip Series #3: Virginia City Ghost Town

After leaving Glacier, we drove about 9 hours to Yellowstone National Park. On the way we stopped at Virginia City, Montana, an old 1860's mining town. Technically a ghost town since there are no permanent residents, Virginia City is now a tourist attraction and there are businesses there, but it is considered one of the most intact towns from that time period, and definitely worth stopping at. There are 2 towns just a couple of miles apart - Nevada City and Virginia City, we stopped at both.
(click on layouts for a larger view)


I actually had a really hard time choosing paper for these layouts. How do you scrapbook a ghost town? It's not like there are papers and supplies with a ghost town theme, and I didn't want it to have a halloween type feel. I choose some rustic papers that had a little bit of a modern design and added a few pieces of paper with some old fashioned patterns - almost like old wallpaper, and decided to blend the two. The color combinations went together, so I decided to go with it. I added some photo corners to a few of the photos for a little bit more of the old fashioned feel.

We stayed in Virginia City for an about hour, then got back on the road to get to Yellowstone. It was a good stop, the kids really liked it and we would have stayed longer if we could have. 

Next stop - Devils Tower National Monument
We went to Yellowstone from here, but again that's not in this album so I'll skip it. On with the road trip!

Tuesday, February 23, 2016

Adding Some Finishing Touches


Last 2 Yellowstone layouts
Yesterday I finished up the Yellowstone layouts and got all of the photos on their pages. I had finished up 10 2-page layouts over the weekend, and had 7 more to go. I started working on them in the morning, and got down to the last 2 layouts before noon. It was exciting to finish but also a little sad. I started working on these books right after Christmas, so it's been about 2 months of near constant work, planning, or thinking about these books. I finished up the last 2 layouts, took a few moments to feel quite accomplished, and cleaned up for the day.


Leftover supplies that I can add to the books
Today is the day to go back and start adding the finishing touches. It usually takes me more than one day to do this, so today is like the first pass. I spread all of the remaining supplies for the project on the table and start going through each of the layouts.

Many of the layouts I had already added embellishments and journaling cards to along the way, but some I didn't. Now is the time I go back and start adding details to pages that need it - pages that look a little empty or need a little something, and pages that I want to add journaling to. I was surprised at how many journaling cards I had added to pages that I needed to go back and write something on now - I think I did about 12 cards this morning! Journaling is really starting to grow on me. I also added some brads, borders, and some nice Yellowstone clip art pieces that I found online and printed. Most of the pages didn't need a lot, just some little touches. It can also be hard to not add to much - just because I have the extra supplies doesn't mean I have to use every single piece. So I just add a little at a time until I think it looks balanced.
Added the journaling and the location-marker brad at the top of the photo, and the little arrow

Added the bison graphic that I found online and printed

Added the arrowhead graphic, a little journaling, and the location marker brad

There are a few more pieces of clip art that I want to print out, but I ran out of color ink this morning so it'll be a day or two before I get those done. For now, I'll set the books aside for a few days and take a break, then go back through them one more time before officially calling them complete! 

Coincidentally, I ended up with the exact same number of pages in these 2 books as I did the Glacier National Park books - 73 2-page layouts, 146 total pages. I had printed out about the same number of photos but had no idea that I'd end up with the same number of layouts! I hope to be done in a few days, and then I'll photo the albums and upload them into the online gallery.

Up next...The Road Trip Album. 

Tuesday, February 16, 2016

Scrapbooking National Park Trips

I've been spending a lot of time these last few months scrapbooking several different National Parks. National Park trips are a must-do vacation for many people and families at some point. Whether it is a day trip to a park near your home or a week long vacation out west, National Parks are not only great to visit, they are great to scrapbook! There are so many iconic photos you can take of the beautiful landscapes and surroundings – mountains, canyons, waterfalls, nature trails, old lodges, unique buildings, and interesting wildlife.

If you are planning a National Park trip, there are many different things you may want to add to your scrapook. Here are a few things to keep an eye out for or think about adding to your book:


1. National Park Sign - a picture of the National Park is a must! Whether it is the sign alone, you with the sign, your family and friends with the sign, or all of the above, just get a picture of it...or several! National Park signs are iconic and instantly recognized and you'll want one on your scrapbook.

2. Park Maps and Brochures - be sure to pick up any park maps and brochures that you find along the way. You'll most like use these as you travel, and they are great to add to your scrapbook. I always pick up 2 so that I can keep one intact and cut the other apart if needed.


3. Visitor Centers - many National Parks have great Visitor Centers and Ranger Stations. Stop in at these and take a few photos of the old structures or great exhibits. While you are there, look for brochures and maps, and get a Passport stamp!
4. Passport Stamps - our National Parks system has a Passport Stamp program that is available at almost all parks and monuments, and it is free. In most visitor centers and ranger stations there will be a small booth that has the passport stamp (sometimes they are at the info desk or by the checkout of the gift shop.) The stamps are free and can be stamped onto whatever you have - can you use a book or piece of paper. These can be fun to collect and many parks have multiple stops for stamps at the various visitor centers throughout the park.


5. Pull-outs and Turn-outs - most scenic drives will have various pull-outs and turn-outs for you to stop and take in the scenery. Some parks have a lot of these and it's easy to lose track of what you saw where. Most will also have a sign of what that particular pull-out is named or what you are looking at. Snap a picture of the sign before you start taking scenery pictures...when you get home, you will know exactly which pictures were from which overlook. You can also use those sign photos as labels in your book!


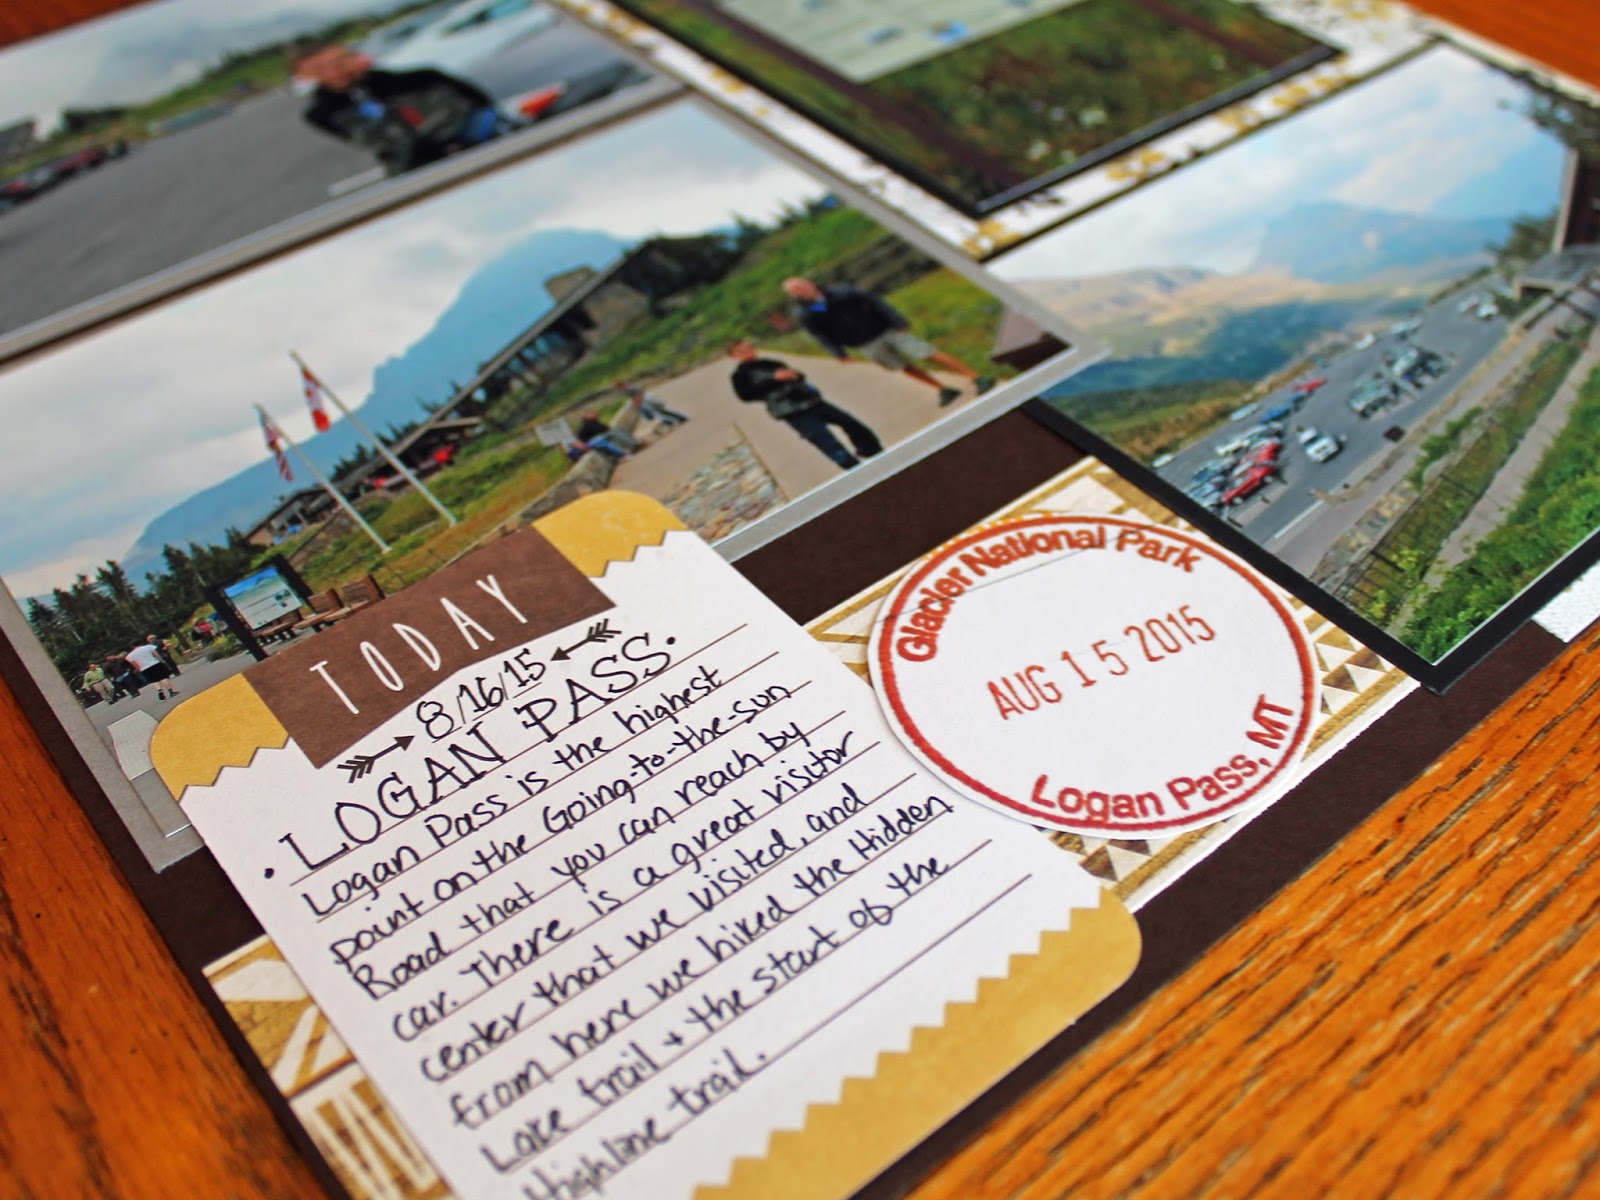
Glacier National Park Scrapbook Page Logan Pass Hiking Trail
6. Trailheads - if you do any hiking, the trail should be marked with a trailhead sign. There will most likely be additional signs showing distances and directions on the trail. Snap a photo of the sign before you head out on your hike.

Yellowstone National Park Scrapbook Page Roosevelt Lodgel
7. Lodges - many National Parks have historic lodges on site, and all of these are open to the public - you don't have to be staying there to walk through the lobby, eat at the restaurants, or shop in the gift shops within them. Visiting the old lodges can be a fun part of your trip, just like seeing the rest of the sites in the park. We try to stop at any of the lodges we are not staying at to check them out or grab a meal, but also to sit on the porches overlooking a lake, walk along the beach or lakeshore behind them, and just take in the scenery. Some of these lodges have great architecture and huge old logs that you may want to get photos of for you book.

Yellowstone National Park Scrapbook Page Elk Wildlife Viewing
8. Postcards - the National Park Service has some great postcards - many depicting historic artwork of scenes in the parks. Pick up a couple of your favorites - there are tons to choose from and the art makes a great addition to your scrapook!


Devils Tower National Monument Scrapbook Page Junior Ranger Badge
9. Junior Ranger Badges - if your children want to participate in the Junior Ranger program, pick up the booklet at the visitor center and work through the booklet during your visit. Before you leave, stop back to the visitor center where a Ranger will check over the booklet and award your child their Junior Ranger badge. Some places also have a Junior Ranger Patch that you can purchase after you earn the badge. We've participated at several parks - they can range from fairly easy to quite difficult to earn! But they are fun to do, make for great photo ops, and once home you can take a photo of the badge or patch and add it to your book.


10. Scenery shots and detail shots - most people travel to national parks and monuments to take in the sights and see the monuments. When taking photos of these places, be sure to get a lot of scenery shots, but also detail shots. I've talked about detail shots before in this post, but take a few minutes to walk around and really notice the little details - bark on a tree, texture of old bricks, smooth rocks on the lakeshore. These can be great and unique additions to your scrapbook.

With so much to see at our National Parks, it can be hard to get it all in. If you miss a photo of a place or a sign, you can often find them online by doing an image search. I often copy or download images from the web and use them in my books if I've missed a photo that I later realized I wanted for an album. 

Most importantly, enjoy your trip to the national parks!  They are amazing places and so much fun - take tons of pictures and experience all that you can - then when you get home you can make an amazing scrapbook!

Monday, February 1, 2016

So Many Photos, So Few Pages

Yelowstone trip, minus about 1/4 that I've already scrapbooked
It's no secret, I take a lot of photos. Like sometimes an exorbitant amount. Many are just slightly different angles of the same thing, or multiples of my kids in the same position (hoping that one of the 5 will turn out great.)I narrow them down a lot during editing, before choosing which ones to print and scrapbook. But it can be hard trying to decide which photos make the cut and which do not. And once I have decided printed them, I still usually end up with several dozen from each trip that didn't make the second cut into the book. If you take a lot of photos too, you know how hard it can be to make them all fit in the scrapbook! 

I really, truly like to put as many photos as possible on a page. I just like pages with a lot of photos on them, its just my style. M
ost of my pages usually end up with 4 to 5 to even 6 photos on them! Rarely do I have a page under 4 photos.

So when it comes time to put photos to paper - how do you choose? 
Sometimes all the photos just won't fit on the page and you are forced to eliminate some. 

First, try not to have too many duplicates. I try to choose the very best ONE of a particular shot/scene/area/person and use that one.


Second, cut them down. While I tend not to cut a lot of photos down, I do cut a lot of 4x6 photos down to 4x4. I almost always scrapbook with only 4x6 and 4x4 photos. By using 4x4s you can fit more photos onto the page and arrange 3 photos vertically or horizontally on the page.


Third, pick your favorites. Many times I've removed a photo from a layout that I really, really wanted to use - but only because I loved the other ones on the page even more. If there is no way to cut it down, or cut others down to make it fit, then you just have to pull it, or add another layout to incorporate those pictures that didn't fit. Since I tend to do almost all 2-page layouts, having a couple straggler pictures can force me to create another 2-page layout for them - which can be nice since you are then able to spread out the pictures over a multi-page layout.


My current project is our trip to Yellowstone, and here I have all of our photos from the Mammoth Hot Springs area. I have 62 pictures printed, and wanted no more than 8 layouts. I first layed out 16 sheets of 12x12 paper to make up the 8 layouts, then started putting the photos on the pages that I thought would go together.  


Once I had a general idea of what would fit together, and what made sense together (all of the town pictures together, all of the hot springs pictures together), I had 2 photos left over that I couldn't fit on any of the pages. I was pretty happy to only have 2 left, and since I had other photos that were similar or that I liked better, I was okay with leaving these 2 off. 


I cropped down several photos to 4x4 size, and began thinking about their final placement and layout.  After cutting them down, I was happy with the spacing and placement, and could start pulling out the patterned papers and create the final layouts!