We arrived at Custer State Park in the early afternoon, and spent a couple hours driving around the park an heading toward our hotel. We entered the park at the south entrance, and out hotel was at the far north point in the park.
We stopped at the south entrance for our sign photo, then continued to drive and spot wildlife along the way. Custer is a big park and it took some time to get our bearings and a learn the road system and where things were.
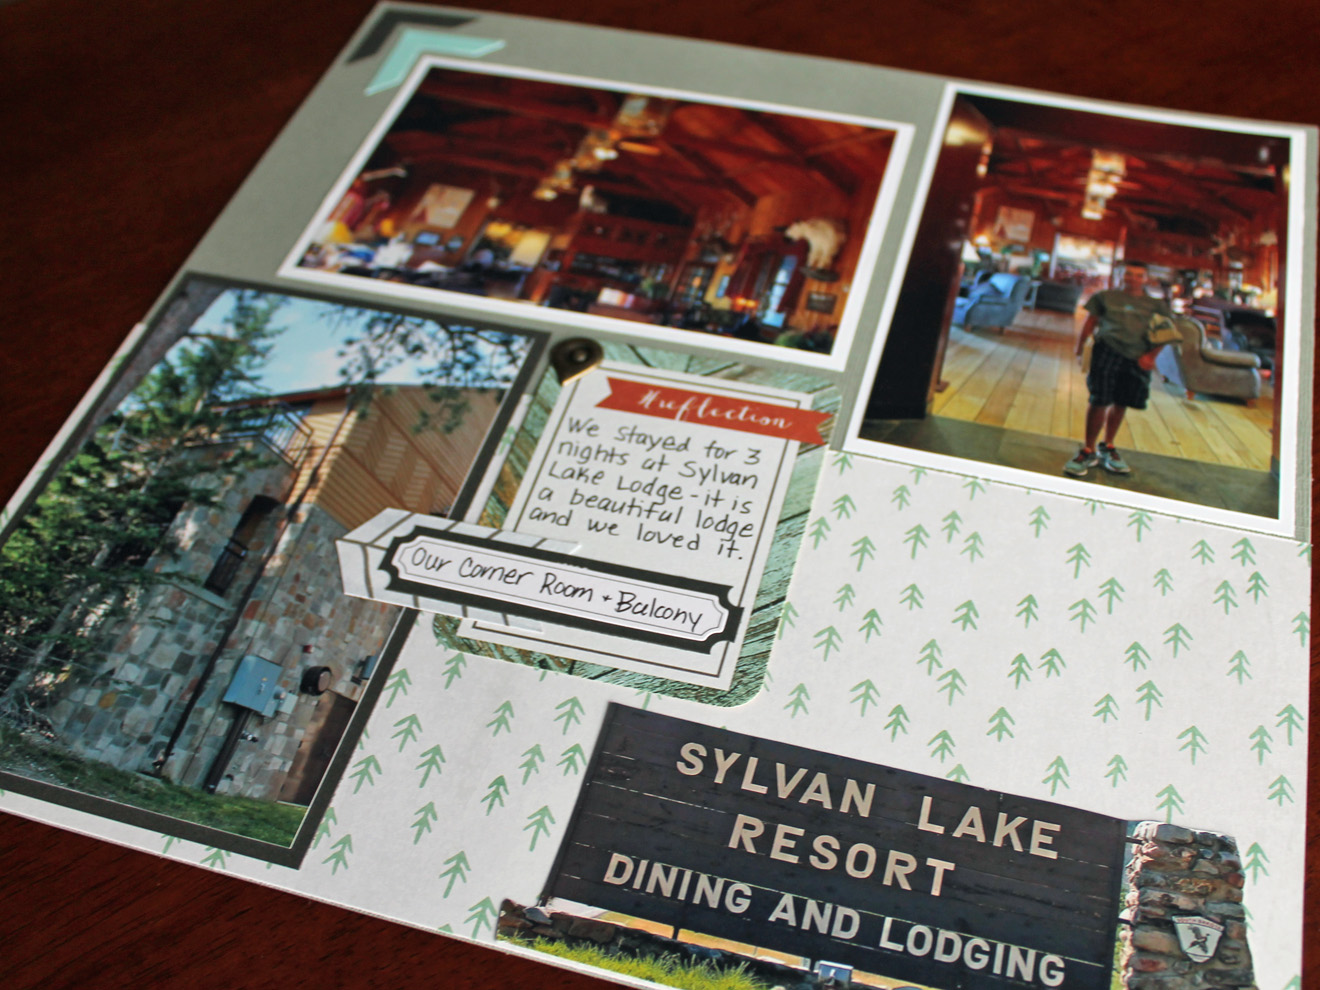
We arrived at our hotel, the Sylvan Lake Lodge and were able to check in and check out our room. Sylvan Lake Lodge is just beautiful and we were so happy to be able to stay within the park. The lodge borders Sylvan Lake, which has a short hiking trail around it, and is near the trailhead for several trails other popular trails. It was a perfect home base for us for 3 days.
I created three layouts for this park of the park - 1 of the park entrance and 2 at the lodge. I included a park map (that I printed at home), and a brochure from the park.
Our first hike in Custer was to hike the Sylvan Lake Trail, which we went to next!
Our first day in Custer State Park we actually left the park to run over to Jewel Cave National Monument for the morning. We wanted to arrive early to secure a guided tour - tickets tend to sell out fast during the peak season. Oddly, our biggest challenge of the day would be road construction on the on way to the park, but we still got an early tour even with the delay.
After getting our tour tickets, we had about an hour to walk through the Visitor Center, so we got our map and passport stamps, and picked up a few souvenirs - again, for me a postcard was a must-have for the scrapbook! And my son started working on his Junior Ranger booklet until it was time to go.
The tour of Jewel Cave was amazing and completely different from Wind Cave that we had seen the day before. Jewel Cave is huge and spacious and has all of the typical cave rock formations you expect to see. We again stuck close to the ranger at the front, and the boys got to help her lead the group and lead the way when she stayed back. They loved it.
I made 4 2-page layouts for Jewel Cave, and encorporated the postcard, map, passport stamps, and my son's badge into the pages. Taking photos in this cave was also challenging, but since it is so much larger than Wind Cave the photos came out somewhat better since there was a bit more ambient light.
The paper collection that I'm using for this album had these wonderful jewel/gemstone papers that I immediately wanted to use for the cave layouts. I used them elsewhere in the album, but they seemed to fit the best here.
After the cave tour we took a short hike through a very pretty forest surrounding the visitor center.
We then headed back to Custer State Park and were finally able to start exploring the park and do some hiking there. The layouts for Custer State Park are next!
Since it's a new year and I've been scrapbooking quite a bit these last few months, I decided I wanted to do something different this year....a scrapbooking New Years Resolution of sorts.
My goal for this year is to try one new technique or product every month that I've never used before. I'm always trying to think of ways to do new things and change things up, but I never really branch out into new techniques or products, so this will be good for me to try some new things. But they have to be simple things, things that anyone can do that don't cost a lot. I'm not buying giant machinery or machines that make all kinds of things for me (I'm not against those machines, I just can't justify the cost.) And I'll share the results here - the good and the bad! Some of these new things may turn our great, and others maybe not so much.
So the first new product I'm going to try is:
Clear Overlays
I've actually wanted to try using clear overlays for a while now, as I've bought various journaling card sets that include these overlays with printed words or designs. I couldn't figure out how to use them, since they are clear and I couldn't adhere them to anything without the adhesive showing. And since I don't use pocket pages I couldn't just slide them into the pocket. So, I just never used them...until now.
The set of journaling cards that I'm using for our Washington DC album came with 2 different sizes of overlays - 4x6 and 2x3. They have great designs and phrases on them and I knew I wanted to use them but I didn't know how. It was time to get creative.
I decided to try using brads to secure them to a photo. I lined up the photo and the matte for the photo with the overlay, used my small hole punch in each corner, and put the brads through. And....I LOVED IT!
I was so happy with how it came out...I couldn't believe I hadn't done this before. This first one was kind of easy though, since it was a 4x6 size and I put it on an unusual photo - this might be harder to do with photos of people. So I tried one with people next, and with a smaller overlay that would not cover the entire photo. And this was the effect:
I really like the look of this and like how the frame draws you to the focus of the photo. So I kept going with a few more here and there on various layouts:
I really like how the overlays look and I especially like how the brads look on them. They add just enough without being too distracting or overpowering the photo.
I was, however, struggling to figure out how to use one of the overlays. One of the 4x6 overlays is covered with small circles, and while I liked it and thought it could look nice, every photo I put behind it seemed to get lost under the pattern. So I decided to try this same technique but in reverse - with a photo on top of the overlay and the overlay becoming the background design. I just mocked this up and have not secured it to the page yet, but I think I like it enough to go ahead and add it.
These overlays turned out so much better than I thought they would and I was very happy with the look and how easy they were to work with. They are really very versatile and now that I have a way to secure them I will definitely be using more in the future.
Have you used overlays? How did you secure them? Would you use brads?
After leaving the Badlands and Wall, SD, we headed for Custer State Park. On our way, we stopped at Wind Cave National Park, which borders Custer on the south. We arrived early in the morning to secure tickets for a cave tour, and had no problem getting tickets for a tour that started about 45 minutes after we arrived.
We spent a little time in the visitor center while waiting for our tour, and looked at the exhibits and worked on my son's Junior Ranger booklet. We picked up our map, passport stamps and some souvenirs, including a postcard that I knew I would use in the scrapbook. I took a photo of our tour ticket and a few signs along the way.
The cave tour was great! The ranger was so friendly and knowledgeable, and we stuck close to the front of the group - the boys got to lead the group a few times when the ranger hung back for stragglers, and they thought that was the coolest. Wind Cave is known for it's unique geologic formation called boxwork, and has 95% of the worlds known boxwork. We got to see quite a bit of it.
After the tour we walked back to the Natural Entrance of the cave - the original entrance that the ranger had showed us, so we could get some photos and feel the cold air blowing out of the natural entrance. After that, my son finished up his ranger book and got his badge, and we left the visitor center.
I created 4 2-page layouts for Wind Cave. Taking photos in the cave was very challenging, the best photos were taken with no flash but since I didn't have much time to adjust the manual settings during the tour, they tend to be just a little blurry due to camera shake. But several of them still turned out good enough to include in the scrapbook.
We all loved our visit to Wind Cave, and even though it was not our first cave experience (we had been to one cave back home) it was a great experience. From here we continued North and left the border of Wind Cave and went directly into Custer State Park, where we spent the next three days exploring.
While we were visiting the Badlands, we also visited the Minuteman Missile National Historic Site, which is literally right across the highway from the entrance to the Badlands. This was one of the more complex national sites we have visited, as it is spread out among 3 different locations, and getting tickets for the tour can be tricky. So we got up early and made our way to the visitor center to get in line!

We arrived at 7:30am and the line was already long for tickets for the tour, but when the visitor center opened at 8am we were lucky enough to get a tour later in the afternoon - we were actually the last tour of the day! Each tour only takes 6 people so we got lucky that day! We first toured the visitor center, and my son worked on his Junior Ranger booklet and got his badge. We had about 5 hours until our tour, so we went back into the Badlands again and hiked some more, got lunch, and drove the scenic loop again. We left there and headed over to the first part of the tour, the Missile Silo, and looked at that on our own and then went to the Launch Facility for our guided tour.
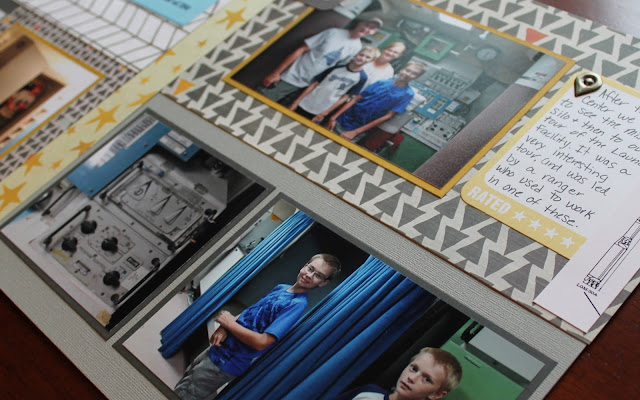
Here they took us down into the actual underground Launch Facility and we learned about the missile program during the cold war. Hundreds of these underground bunkers were scattered all over the midwest. We learned about the men who lived and worked here, and got to see the control panel where they would have launched a nuclear missile if the order would have been given. It was a very interesting tour.
I created 3 2-page layouts for this site (one page for each of the sites, and also used the park guide, passport stamps, and a photograph of our tour ticket (we had to hand in the tickets so I always try to take a photo of the ticket beforehand):
For these layouts, I tried to choose papers from the collection that seemed to fit a little better with the theme of the site - stars, arrows, and triangles - they look a little bit like rockets!
After finishing up the tour, we headed back to Wall, SD, where we stayed for our last night before heading over to Custer State Park.
It's not too often that I "scraplift" another persons scrapbook layout or design and use it for my own. But when I came across a layout on Pinterest, I knew I needed to use it for a cover page for one of my books and decided to use it for our Custer State Park trip in South Dakota. Since the original layout was 2 pages, I modified it down to one and adapted it to fit my photos and timeline. What I ended up with is probably one of my favorite pages that I've ever made.
This page was really so simple to make and took very little in terms of supplies or paper. I typed up and printed out a small itinerary of our 3 days in Custer, and highlighted each day with one photo from that day. I chose 2 patterned papers and ran one piece across the top, and a narrow piece along the bottom.
I created the header banner with some cardstock and stickers, and a couple of tags that I had from the park that came off some clothing we purchased (I could have just printed out logos if I wouldn't have had these.) To add some details, I double-mounted each of the papers in the header, and added a couple of arrows from some punches that I have. The metal location brads and compass were added above each of the days of the itinerary, and add some nice texture, color, and interest to the page.
Our trip to Custer State Park was one of the best things we did in South Dakota, and I'm thrilled with how this cover page turned out. The papers are from the We R Memory Keepers Shine collection, which I used for all of our South Dakota albums.
Thanks for looking!
The main attraction at Badlands National Park is to drive the Badlands Loop Road - a 40 mile loop through the park. Along the way there are many scenic overlooks, pullouts, and trailheads to stop at. We were lucky enough to have 2 days in the park and drive the road twice, which allowed us to stop at many of the trailheads and hike a little bit, and also stop at most of the overlooks.
I took tons of photos in the Badlands along the drive, and narrowed it down enough to only make 5 2-page layouts for the drive. We stopped at many of the overlooks and really enjoyed looking at the rock formations and looking for wildlife. At the end of the Loop Road, another dirt road branches off called the Sage Creek Rim Road, and this section of the park is know for it's wildlife spotting. We spent about 2 hours driving that road and saw quite a bit of wildlife.
For these layouts, I tried to keep the color pallet very simple and accent the landscapes. Since it all tends to be shades of grey or tan, there is not a lot to choose from! The thing about the Badlands is that it feels really desolate, especially when your standing out in it or hiking through it. I wanted the layouts to kind of have that same feeling - just simple and uncomplicated.
We loved our 2 days at the Badlands! It is such a unique area, the we really njoyed hiking among the rocks and looking for wildlife.
After the Badlands, we stopped at one other NPS site, the Minuteman Missile National Historic Site that is just down the road from the Badlands. We'll go there next!