Showing posts with label embellishments. Show all posts

Monday, February 15, 2016

Embellishing Your Scrapbook Pages with Memorabilia

If you collect a lot of memorabilia on your travels, then you know it can sometimes be a challenge to fit it all into your scrapbook. When I travel, I'm sure to pick up every brochure, flyer, handout, and map along the way! Many of these we use while traveling, and most of them come home to be put in the scrapbook. Sometimes the memorabilia itself can take up a page or two in the scrapbook, and that's before you've added any photos to the page!

So how can you fit your memorabilia into you scrapbooks?  What should you use and what can be left out?

First, gather all of your photos and memorabilia together. Be sure to have everything you want to use, since it may be hard to squeeze things in after the fact! If you have duplicates of flyers or maps, keep them for now as you may want to use different pieces of them on different pages. 


When you start laying out your page, you'll need to decide where and on what pages you'll want to have certain things. 

  • Have a map or brochure on the first page. 
  • Arrange your photos around the memorabilia instead of trying to fit the memorabilia around your photos.
  • Spread out the memorabilia throughout the layouts, especially if you are doing a multiple page layout - have 1 or 2 items per layout instead of everything on the first layout.
  • If you have 2 of the same item, keep one intact and cut pieces or pages out of the other one.
  • Cut out pieces of the brochures like small maps, fun facts, or logos and just use those.

Here, I had 2 copies of the same flyer, so I used the flyer open to display the map on this layout, then used the other flyer intact on the next page since I had the space for it.


Memorabilia can also be used as a great space-filler if you are short on photos. On the layout below, I only really had 2 photos for this page, so using the flyer on the side helped me fill the page and add some nice details about the place we were.  


There may be times that you can't fit all of your memorabilia onto your layouts, and that's okay. I often have a few things that I discard after I choose my favorites to use in the book - on these pages I tossed out a couple of brochures and our parking pass.

When you are out and about, try to pick up 2 pieces of memorabilia if you can. You can always scan the one you have and print it out at home if you find yourself wishing you had two. Many brochures and maps can also be found online and printed at home if you didn't pick them up. Memorabilia is a great addition to any scrapbook - use as much as you can!

Wednesday, February 10, 2016

Back At It!!

Today I'm back to working on the Yellowstone book. I'd taken about a week off from looking at it. I had finished a bunch of layouts last week and was feeling burned out on it, so I put it off to the side for a few days and didn't think about it. Sometimes taking a break from a project is good - it clears your mind which helps motivate you to pick it up again! Losing motivation to work on scrapbooking can be complete and unexpected. As much as I may love what I'm working on, I just don't want to look at it anymore. Like at all. But after a break, I can't wait to get back to it!

So instead of the trip pages, I worked on some holiday pages from last year that needed to get done - Halloween and Christmas Eve. Since I had pulled supplies for these pages earlier and had them ready to go in my project bin, I got them done fairly quickly.  


Halloween ended up being only 2 2-page layouts, while Christmas Eve turned out to be 6 2-page layouts. I still have to do Christmas Day, but I'll save that for another time. Right now, I'm back to the Yellowstone pictures. 

I have 3 more sets of photos to do from that park, and today I wanted to finish up the layouts from one particular section of the park. With the number of photos I had, it ended up being 6 2-page layouts. Here is the first of the visitor center:


We also took a lot of photos along the shore of Lake Yellowstone. I decided to keep these layouts pretty simple and serene, since that morning on the beach we were the only ones there - it was very clam, peaceful, and quiet, and I wanted the layouts to reflect that. All the pages needed were a few colored papers and a few subtle patterns.


With these done, I have two more sets to scrap until I'm finished! I'm very excited to finally see the light at the end of the tunnel. It will probably be about 20 more 2-page layouts, and I'm hoping to have them done in the next few weeks. 

Even though I lost my motivation for a week or so, taking a break allowed me work on a few other pages, and spend some time doing some other things besides scrapbook. When scrapbooking starts to feel like work then it's time to take a break - sometimes that break lasts a few days, sometimes longer. And that's okay. That's what is great about scrapbooking - there are no time constraints, no right or wrong ways to do it, no deadlines. Just pick up where you left off, or start something new - you'll be glad you did.


Tuesday, January 19, 2016

How to Use Personalized Mementos on Your Pages

There are so many things you can use for embellishments these days, and I tend to stick to a few. I use stickers, but I also use ribbon, brads, eyelets, tags, journaling cards, die cuts, and cutouts. But I also try to use things that are personal - mementos or things that came from the place we were or what we were doing. I tend to think of embellishments and mementos as almost the same thing - they both add decoration and interest to your layouts, and they not regular photographs. If I can use a personal memento in place of a store bought embellishment, I'd rather. There are lots of ways to add these personal mementos to your albums, and they add a lot of character and uniqueness to your layouts.

Here are my Top 10 Favorite Personal Mementos:


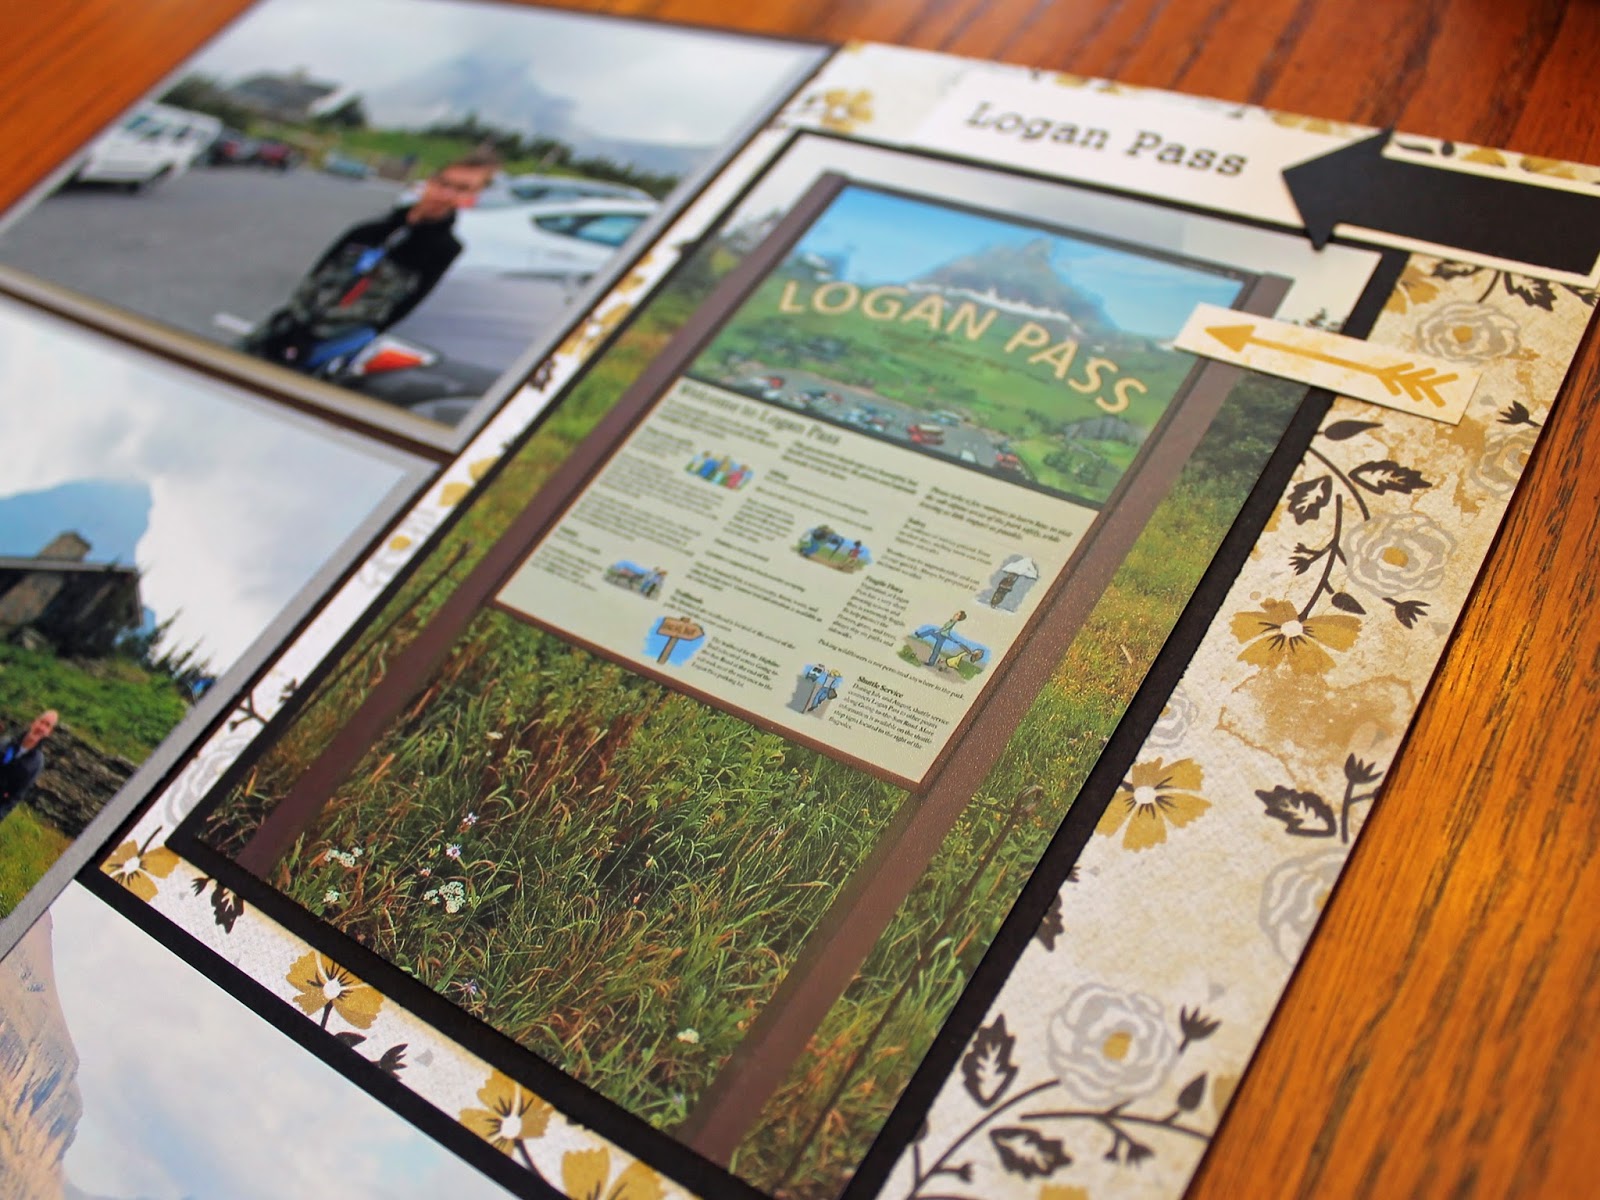
1. SIGNS. I love signs. Park signs, street signs, ride signs, highways signs, you name it. I started taking pictures of signs so that I would know when I edited my photos which pictures came from where. Then I started incorporating the photos of the signs in my layouts, and just loved the effect. Wherever you go there are signs - state park signs, national park signs, theme park signs, road signs on your road trip. Take photos of them and use them in place of another embellishment.


2. TICKETS. Ticket stubs are great, but sometimes you have to hand your ticket over and don't get to keep it. Take a picture of it! Once printed and trimmed - it looks just like the real ticket. I've done this with Disney FastPasses, game tickets, airline tickets, and many other tickets. Another easy, and personal memento.

3. STAMPS. Stamps can be a really cool embellishment. While I've never used actual passport stamps, I've taken photos of stamps for both Disney scrapbooks and national park scrapbooks. At Disney, my kids did the Epcot passport book and collected the signatures and stamps in each country, and at several different national parks they got the "Passport" stamps in the NPS Passport books. Once home, I took photos of all of the stamps, cropped them in Photoshop, and uploaded them into a Word document where I could re-size them and print them all on a sheet of paper. Cut them out and there is another embellishment that looks just like the real thing.

4. AUTOGRAPHS. Another Disney idea, but if you collect the character autographs while at Disney, take photos of them once you get home and you can use these in your scrapbook.  I wanted to keep the originals intact, so I just took photos and printed them, and once in your album they look just like the real autographs. If you collect autographs at sporting events or concerts, use those too!

5. PATCHES and BADGES. Perfect for national parks, trails, scouts, and many others, take photos of patches and use them in your books! Once you trim out the patch it looks just like the real thing. 


6. POSTCARDS. Pick up a couple of postcards while on your trip. If you forget to buy some, you can look for them online and and print out a few! I have found some really cool old vintage postcards this way that make great art for a scrapbook page.


7. BROCHURES/FLYERS. Brochures and flyers are great and given out almost everywhere. Grab two - one you can keep intact on your page and one you can cut apart if there is something on the inside you want to use. I've used brochures to cut out logos and small maps from places we've visited.


8. PROGRAMS.  If you're heading out to a show or your child school music program - be sure to grab the program! In fact, grab two. Just like with the brochures, you can keep one intact and if there is something you want to cut out (like your child's name, a list of songs, etc.) you can cut the other one up without feeling guilty.


9. MAPS. Maps are an easy one, again being handed out everywhere, and often in a brochure or flyer. But you can also take pictures of maps at parks or theme parks, or wherever you travel. They are great in a scrapbook to look back over the area you traveled and the path you took to get there.

10. ART/POSTERS. Again I've used this idea for Disney books and national parks, but it could be used anywhere. Posters, prints, and artwork make great additions to your scrapbooks. I've taken pictures of posters hanging on the walls of buildings and also printed off small thumbnail sized graphics to use in my books.