Showing posts with label storage. Show all posts

Tuesday, February 16, 2016

Scrapbooking National Park Trips

I've been spending a lot of time these last few months scrapbooking several different National Parks. National Park trips are a must-do vacation for many people and families at some point. Whether it is a day trip to a park near your home or a week long vacation out west, National Parks are not only great to visit, they are great to scrapbook! There are so many iconic photos you can take of the beautiful landscapes and surroundings – mountains, canyons, waterfalls, nature trails, old lodges, unique buildings, and interesting wildlife.

If you are planning a National Park trip, there are many different things you may want to add to your scrapook. Here are a few things to keep an eye out for or think about adding to your book:


1. National Park Sign - a picture of the National Park is a must! Whether it is the sign alone, you with the sign, your family and friends with the sign, or all of the above, just get a picture of it...or several! National Park signs are iconic and instantly recognized and you'll want one on your scrapbook.

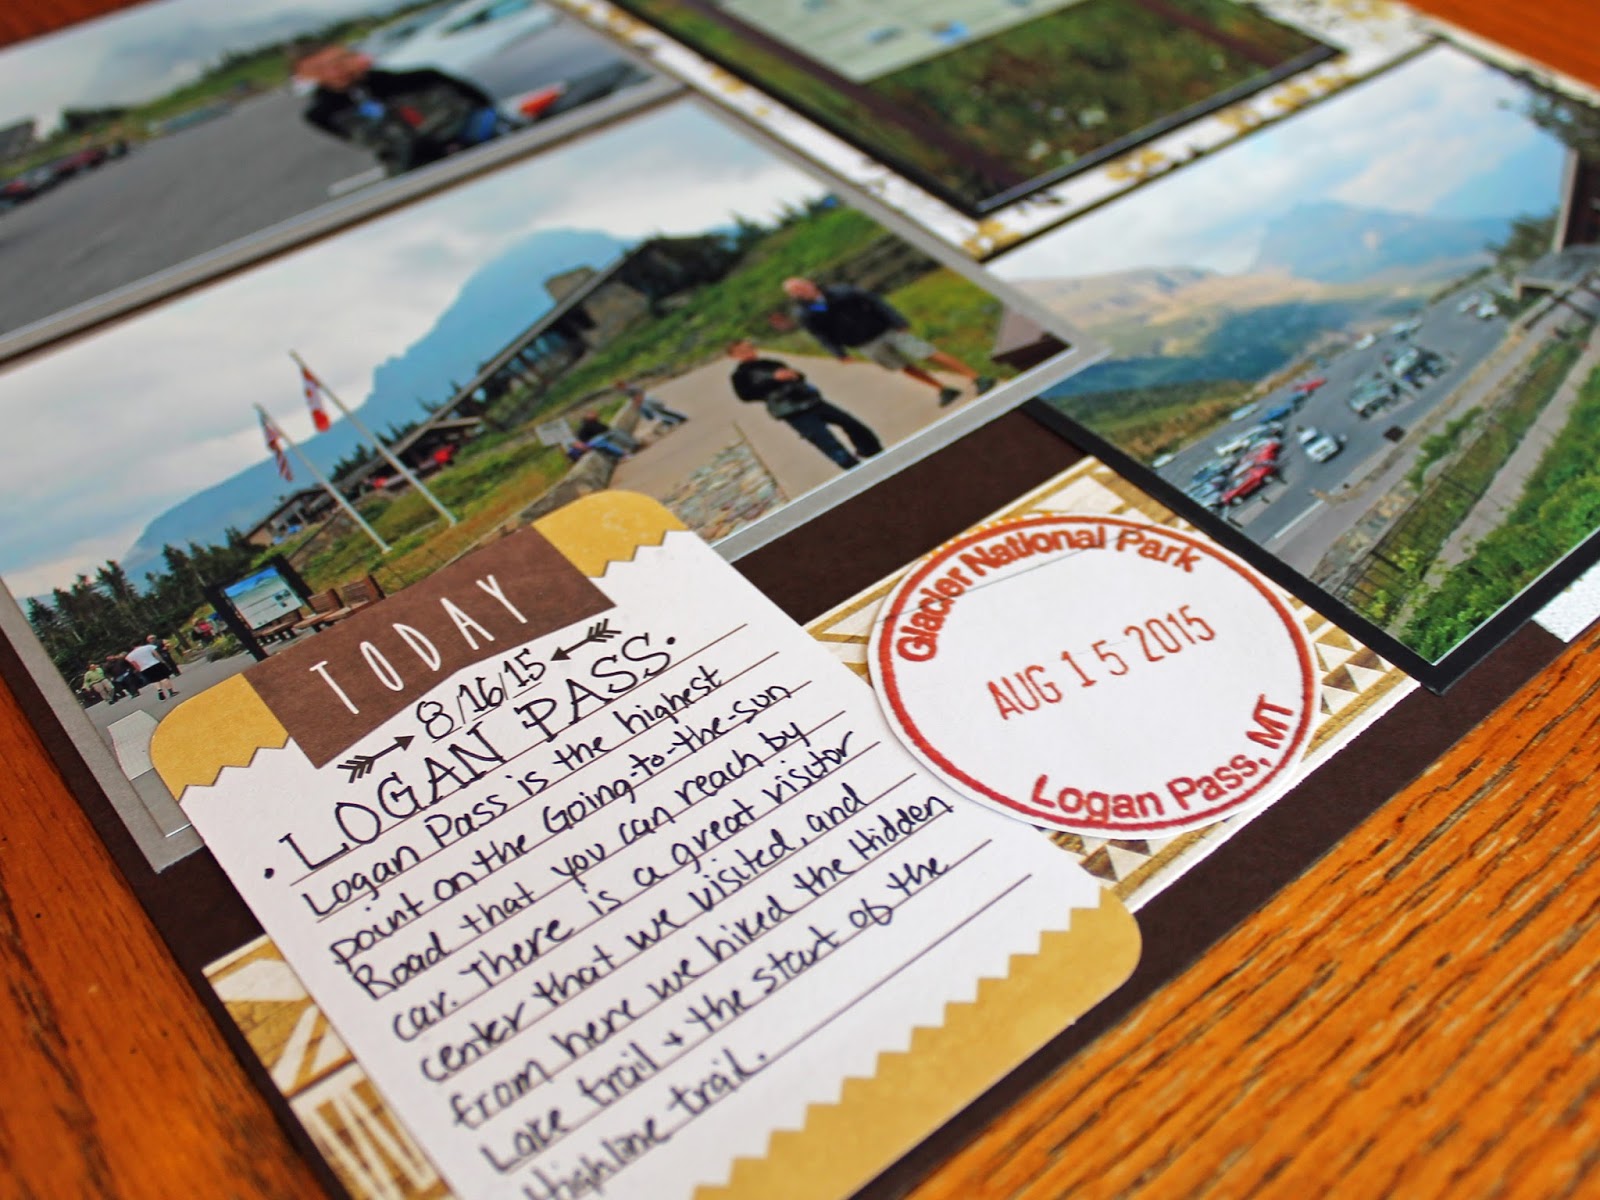
2. Park Maps and Brochures - be sure to pick up any park maps and brochures that you find along the way. You'll most like use these as you travel, and they are great to add to your scrapbook. I always pick up 2 so that I can keep one intact and cut the other apart if needed.


3. Visitor Centers - many National Parks have great Visitor Centers and Ranger Stations. Stop in at these and take a few photos of the old structures or great exhibits. While you are there, look for brochures and maps, and get a Passport stamp!
4. Passport Stamps - our National Parks system has a Passport Stamp program that is available at almost all parks and monuments, and it is free. In most visitor centers and ranger stations there will be a small booth that has the passport stamp (sometimes they are at the info desk or by the checkout of the gift shop.) The stamps are free and can be stamped onto whatever you have - can you use a book or piece of paper. These can be fun to collect and many parks have multiple stops for stamps at the various visitor centers throughout the park.


5. Pull-outs and Turn-outs - most scenic drives will have various pull-outs and turn-outs for you to stop and take in the scenery. Some parks have a lot of these and it's easy to lose track of what you saw where. Most will also have a sign of what that particular pull-out is named or what you are looking at. Snap a picture of the sign before you start taking scenery pictures...when you get home, you will know exactly which pictures were from which overlook. You can also use those sign photos as labels in your book!


Glacier National Park Scrapbook Page Logan Pass Hiking Trail
6. Trailheads - if you do any hiking, the trail should be marked with a trailhead sign. There will most likely be additional signs showing distances and directions on the trail. Snap a photo of the sign before you head out on your hike.

Yellowstone National Park Scrapbook Page Roosevelt Lodgel
7. Lodges - many National Parks have historic lodges on site, and all of these are open to the public - you don't have to be staying there to walk through the lobby, eat at the restaurants, or shop in the gift shops within them. Visiting the old lodges can be a fun part of your trip, just like seeing the rest of the sites in the park. We try to stop at any of the lodges we are not staying at to check them out or grab a meal, but also to sit on the porches overlooking a lake, walk along the beach or lakeshore behind them, and just take in the scenery. Some of these lodges have great architecture and huge old logs that you may want to get photos of for you book.

Yellowstone National Park Scrapbook Page Elk Wildlife Viewing
8. Postcards - the National Park Service has some great postcards - many depicting historic artwork of scenes in the parks. Pick up a couple of your favorites - there are tons to choose from and the art makes a great addition to your scrapook!


Devils Tower National Monument Scrapbook Page Junior Ranger Badge
9. Junior Ranger Badges - if your children want to participate in the Junior Ranger program, pick up the booklet at the visitor center and work through the booklet during your visit. Before you leave, stop back to the visitor center where a Ranger will check over the booklet and award your child their Junior Ranger badge. Some places also have a Junior Ranger Patch that you can purchase after you earn the badge. We've participated at several parks - they can range from fairly easy to quite difficult to earn! But they are fun to do, make for great photo ops, and once home you can take a photo of the badge or patch and add it to your book.


10. Scenery shots and detail shots - most people travel to national parks and monuments to take in the sights and see the monuments. When taking photos of these places, be sure to get a lot of scenery shots, but also detail shots. I've talked about detail shots before in this post, but take a few minutes to walk around and really notice the little details - bark on a tree, texture of old bricks, smooth rocks on the lakeshore. These can be great and unique additions to your scrapbook.

With so much to see at our National Parks, it can be hard to get it all in. If you miss a photo of a place or a sign, you can often find them online by doing an image search. I often copy or download images from the web and use them in my books if I've missed a photo that I later realized I wanted for an album. 

Most importantly, enjoy your trip to the national parks!  They are amazing places and so much fun - take tons of pictures and experience all that you can - then when you get home you can make an amazing scrapbook!

Wednesday, January 27, 2016

Organization on the Cheap: Ribbon

Organizing your scrapbook supplies can sometimes be a tedious task. But it is an important one! Having your supplies organized can help speed up the scrapbooking process when you can quickly find what you need and match things up easier. It can also save you some money by not purchasing things you already have stashed somewhere!

Today I needed to organize my ribbon. I don't usually use a lot of ribbon, but from time to time I will add it to a page or make it a consistent feature in an album. But my ribbon box has been a mess for YEARS. And having this mess has actually made me use less ribbon on my projects, since it was so unorganized and I had no idea what I had. I didn't even want to look in that box for anything!

I really didn't want to spend any money to do this, and organization units and racks can get really expensive. Since I don't use a lot of ribbon, it wasn't worth investing in a ribbon rack, so I needed to come up with something on my own. All it took was my $2 photo box, a few pencils, and a few sheets of cardboard! I was happy to find that unsharpened pencils are the perfect length to fit into the photo box and would be the perfect thing to string the rolls of ribbon on.

I began by pulling out all of the rolled ribbon, and put them on the pencil dowels. This did not work as perfectly as I thought it would, due to lots of unraveling of the ribbon. I could have taped down the ribbon to the rolls, but chose not to - again since my use of ribbon is so limited. If you use a lot of ribbon and are in and out of the box all of the time, you may want to tape down the ends and save yourself lots of re-rolling!

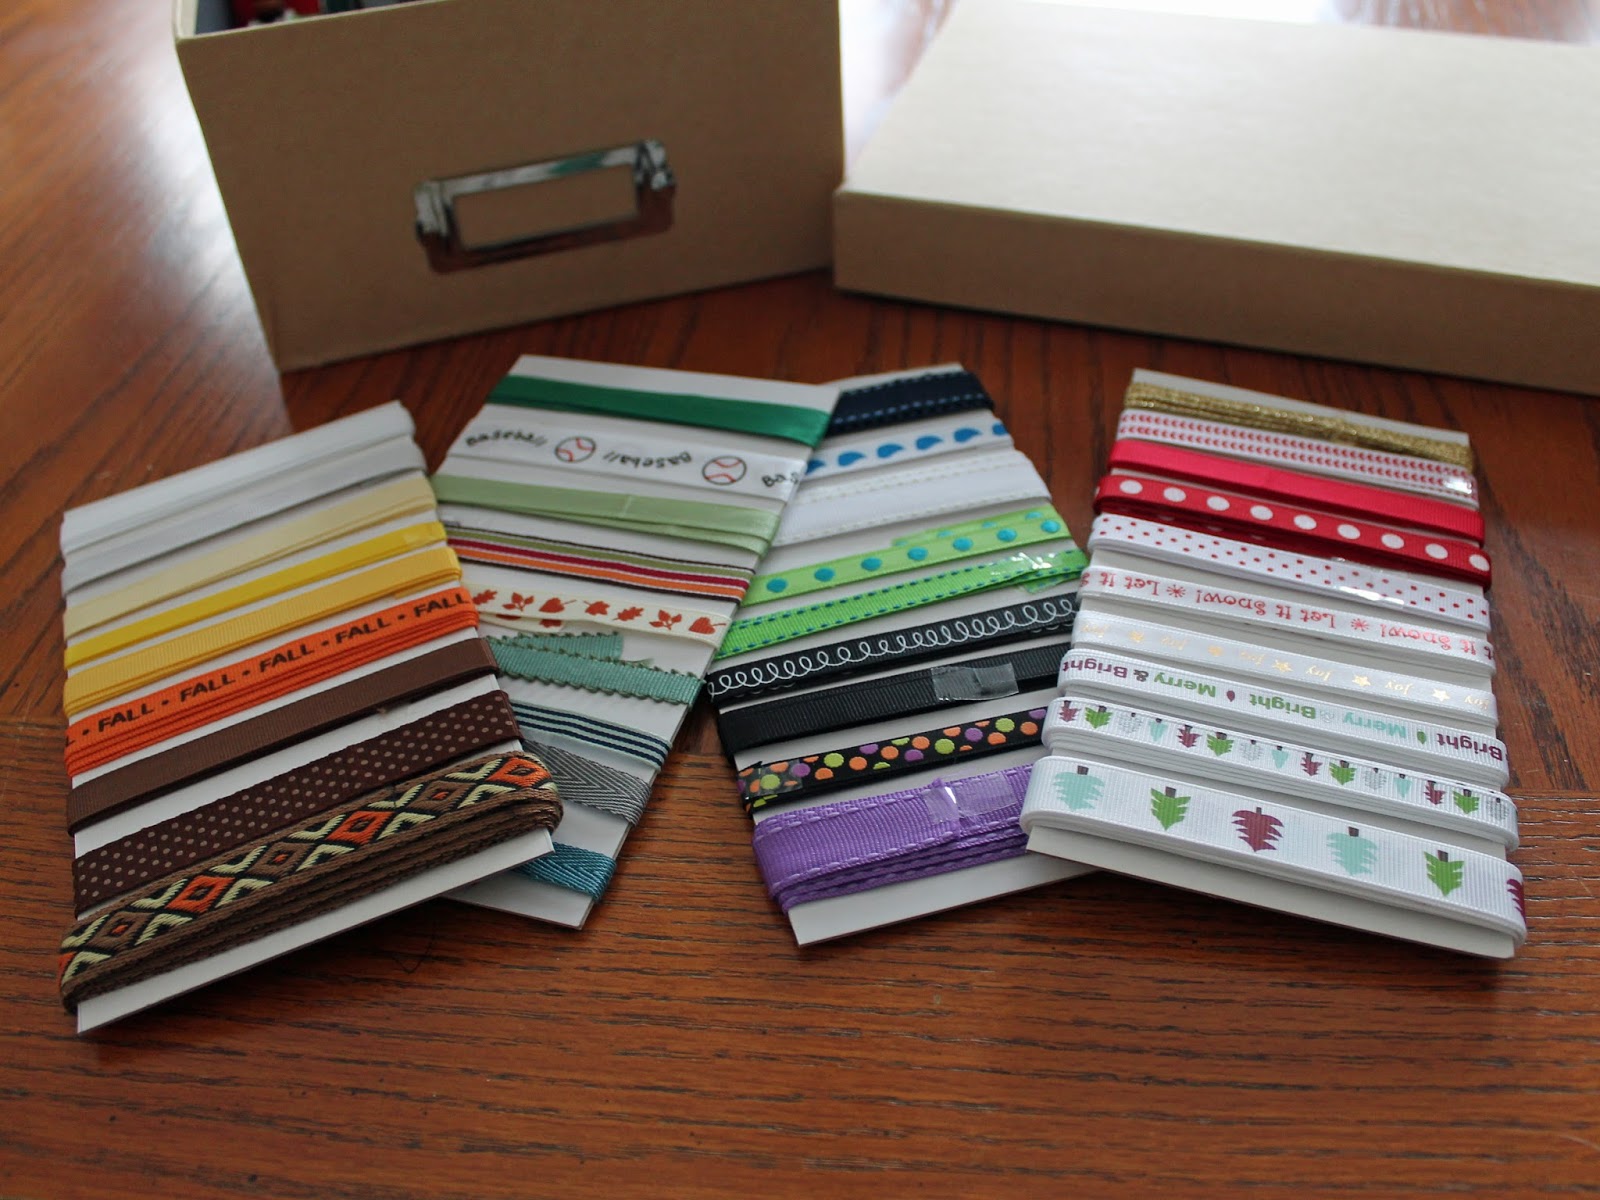
Once I had the rolled ribbon all on the pencils, I needed to decide what to do with all of the unrolled ribbon. I decided wrapping it on cardboard cards could work. I cut out 3 pieces of cardboard to fit the size of the box, and began wrapping the ribbon the on cards. I did have to tape down the ends on these to prevent unraveling, but it was quick and easy and definitely worth the time to do. 

I was very happy with how the wrapped cards came out! I ended up needing to a fourth card to fit all of the ribbon, and did end up discarding a few small bits of ribbon that were too short to wrap or were just scrap pieces from used up rolls that I no longer needed. I tried to match up the ribbons on the cards by theme or color pallet, which worked out pretty well. If you have a lot of ribbon you could easily do one card per theme or color.

In the end, it only took me about 40 minutes to organize the ribbon box, and cost me nothing! Hopefully I'll be more inclined to pull out my ribbon box more often and use it. Happily, I only found one roll of duplicate ribbon in all of this!