Sometimes one good idea leads to another. And then another. And pretty soon you have so many ideas that you don't know what to do with them all.
After working on the cover pages from our DC trip last week, I had several more ideas for new designs for cover pages, so I jumped in and started working on our South Dakota trip. I've really been trying to think of different ways to make cover pages for these travel albums, so for this one I wanted to create a "table of contents" in a sense, because there will be a lot of different places covered in this album.
I had picked up a South Dakota postcard while we were out there that I knew I wanted to use, and I had already chosen the paper and embellishments that I was going to use for this album. I really loved the We R Memory Keepers Shine collection and had already purchased it several months ago to use for this trip. Even though I didn't know what my photos would look like, I thought the Shine collection had the right feel...kind of natural/rustic/western without being totally in-your-face about it.
I again had to find a map online that I liked, and with the map chosen, the postcard, and the idea for the table on contents (destinations list) I was set to go.
This layout took me a little longer than I expected, partially because I needed to go through all of my folders of photos on my computer and make sure I didn't miss anything that I would later want added to the table of contents. Once I wrote out that list, there was no changing it. With the table of contents was set, I knew what layouts would be following the cover page and in what order, and I could put it all together.
For the actual table of contents, I used 3 journaling cards stacked on top of each other. These cards had open slots to write in so they worked perfectly, but you could create the same effect with plain colored cardstock tags applied on a patterned paper. I also thought it would be fun to add the locations to the map with a numbering system for a visual of where we went.
And here is the final layout:
After completing the other Washington DC cover page with the map the other day, I started working on the cover page for the second album which will be an itinerary page.
I decided to keep this page really simple, and just created a chart in Word with the attractions we saw each day. I tried to keep it to the main attractions - things I will be doing layouts for in the book, even though there were other smaller things we saw each day. I usually add some sort of photo on my cover pages, so this time I thought I'd try it without and just keep it simple and clean.
I added a journaling card for a bit of decoration, and added the DC punch-out card at the bottom to over up some other words that were printed on the background paper that I didn't want to be visible. I mounted the itinerary on a piece of tan cardstock to match the journaling card, and added a few grey photo corners that I made from an arrow punch.
After typing up and printing out the chart, this page only took me about 15 minutes to put together. It's simple, but it works.
I've been thinking a lot lately about itineraries and timelines and how they are used in scrapbooks. I've made a few different itinerary-type pages for travel books, but really haven't used them in any other types of books, and I'm thinking it might be time to elaborate on this idea.
A timeline doesn't have to take place over a long period of time, it could be the course of a week, a weekend, a school year, or a sports season. It could be just one day.
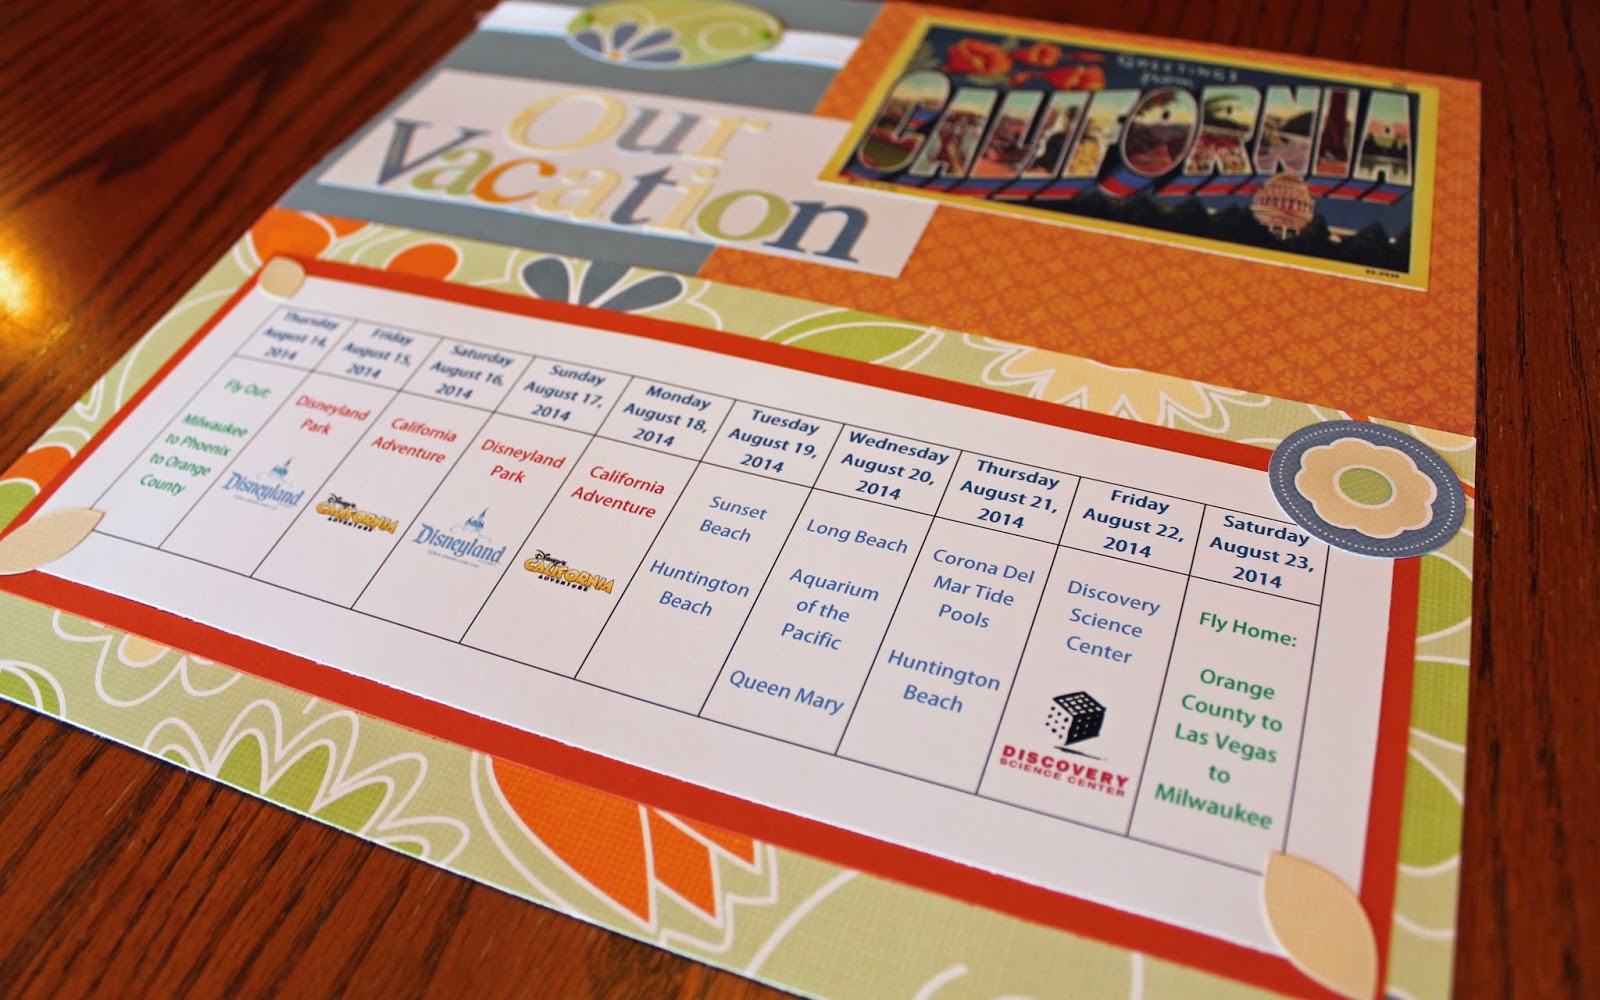
An itinerary or timeline page can make a great cover page to an album, or be a fun corresponding page to another single page layout you may have. The itinerary pages below are a simple grid with the days and locations noted - I also like to add a logo or graphic of the location if I can.
You can also do an itinerary in a more geographical way by showing where you went on a map and when. Here I highlighted the route we drove each day and stops we made along the way.
This layout is the itinerary of just one day - these were the places we stopped along the scenic drive in Glacier National Park, which we drove in one full day.
You may not want to dedicate a whole page to your timeline or itinerary, so you can easily use a journaling card or another type of tag to add a small timeline to your page. These mini-timelines can be a great way to detail your family traditions and annual events.
As I look through my own books I've realized that I haven't really done much with timelines and it's something I want to try to focus on more in my future pages. I have several old family albums that don't have cover pages, that I could go back and add a "year in review" kind of timeline - highlighting certain events from that year. I could also do this for my kids sports albums and highlight the different sports and activities they've participated in over the years.
I did some image searches and found some really great ideas for timeline pages that I'm excited to add to my own books. What ideas have you used for timelines and itineraries? What is your favorite?